
A step-by-step configuration for a cognito user pool using CDK.
- CDK is an open-source framework that allows you to express cloud infra-structure using code. More on CDK
- Cognito is an AWS service that allows you to create user pools to manage user accounts and login flows. More on Cognito
- As of February 2022 versions used in this guide are
{
  "typescript": "~3.9.7",
  "aws-cdk-lib": "2.10.0"
}
1. Create CDK package
If you already have a CDK project skip to 2.
Create the project folder
mkdir my-app-cdk \n' + '% cd my-app-cdk \n
Init nodejs and CDK in your project
cdk init app --language typescript
Finally go to the generated code for the stack under my-app-cdk/bin/my-app-cdk.ts and uncomment the env: line and replace with your AWS account info:
// env: { account: '123456789012', region: 'us-east-1' }
2. Create Cognito user pool construct
Create a typescript file for the cognito pool inside the project
cd lib \n' + '% touch cognito.ts \n
Add the Construct code for the pool, in this example it is named CognitoPool, feel free to give it any meaningful name.
We will use the UserPool construct with some options, feel fre to edit, add or remove options. For a complete list of available options check UserPool docs
import { Duration, RemovalPolicy } from 'aws-cdk-lib';
import * as cognito from 'aws-cdk-lib/aws-cognito';
import { Construct } from 'constructs';

export interface CognitoPoolProps {
  readonly stage: string;
}

export class CognitoPool extends Construct {
  constructor(scope: Construct, id: string, props: CognitoPoolProps) {
    super(scope, id);

      const cognitoPool = new cognito.UserPool(this, 'CognitoPool', {
      userPoolName: `${props.stage}-CognitoPool`,
      selfSignUpEnabled: true,
      signInCaseSensitive: false,
      signInAliases: {
        email: true,
        phone: true,
      },
      autoVerify: {
        email: true,
      },
      userVerification: {
        emailSubject: 'Hello from My Cool App!',
        emailBody: 'Hello, Thanks for registering in My cool app! Verification code is {####}.',
        emailStyle: cognito.VerificationEmailStyle.CODE
      },
      standardAttributes: {
        fullname: {
          required: true,
          mutable: true,
        },
        email: {
          required: true,
          mutable: true,
        }
      },
      customAttributes: {
        company: new cognito.StringAttribute({ mutable: true }),
      },
      passwordPolicy: {
        minLength: 8,
        requireLowercase: true,
        requireDigits: true,
        requireSymbols: true,
      },
      accountRecovery: cognito.AccountRecovery.EMAIL_AND_PHONE_WITHOUT_MFA,
      removalPolicy: RemovalPolicy.RETAIN,
    });
  }
}
Note: The CognitoPoolProps public interface is just a practical way to define prop for the construct. Feel free to pass a props {...} definition directly and/or to add new props in the interface.
3. Add an App client to the pool
App clients are used to connect you application (e.g. React or Android) to the user pool for authentication. You can have multiple clients for the same pool with different authentication definition.
We will use the UserPoolClient construct. For a complete list of available options check UserPoolClient docs
Inside the cognito.ts, after the cognitoPooldefinition add the client:
export class CognitoPool extends Construct {
  constructor(scope: Construct, id: string, props: CognitoPoolProps) {

    ...

    const client = cognitoPool.addClient('MyAppClient', {
      userPoolClientName: 'MyAppClient',
      oAuth: {
        flows: { authorizationCodeGrant: true },
        scopes: [cognito.OAuthScope.OPENID],
        callbackUrls: ["https://myapp.com/home"]
      },
      supportedIdentityProviders: [
        cognito.UserPoolClientIdentityProvider.COGNITO,
      ],
      refreshTokenValidity: Duration.minutes(60),
      idTokenValidity: Duration.minutes(30),
      accessTokenValidity: Duration.minutes(30),
    });
  }
}
4. Instantiate the Cognito construct in your stack
Find the stack definition in the project under my-app-cdk > lib > my-app-cdk-stack.ts. Instantiate the CognitoPool construct
export class MyAppCdkStack extends Stack {
  constructor(scope: Construct, id: string, props?: StackProps) {
    super(scope, id, props);
    ...
    new CognitoPool(this, 'MyCognitoPool', {
      stage: 'Beta',
    });
    ...
  }
}
5. Synthesize and deploy Stack
npm run build
cdk synth
cdk deploy MyAppCdkStack
You will prompted by CDK to validate the changes before deployment. If you are only deploying the Cognito pool it should look similar to this:

After deployment finishes, if all goes well, you should see a success report similar to this:

In the event that CDK finds executions fails, validate the output error message. Find additional details in AWS Console under CloudFormation > Stacks > MyAppCdkStack and check the Events tab for further insights on the errors.
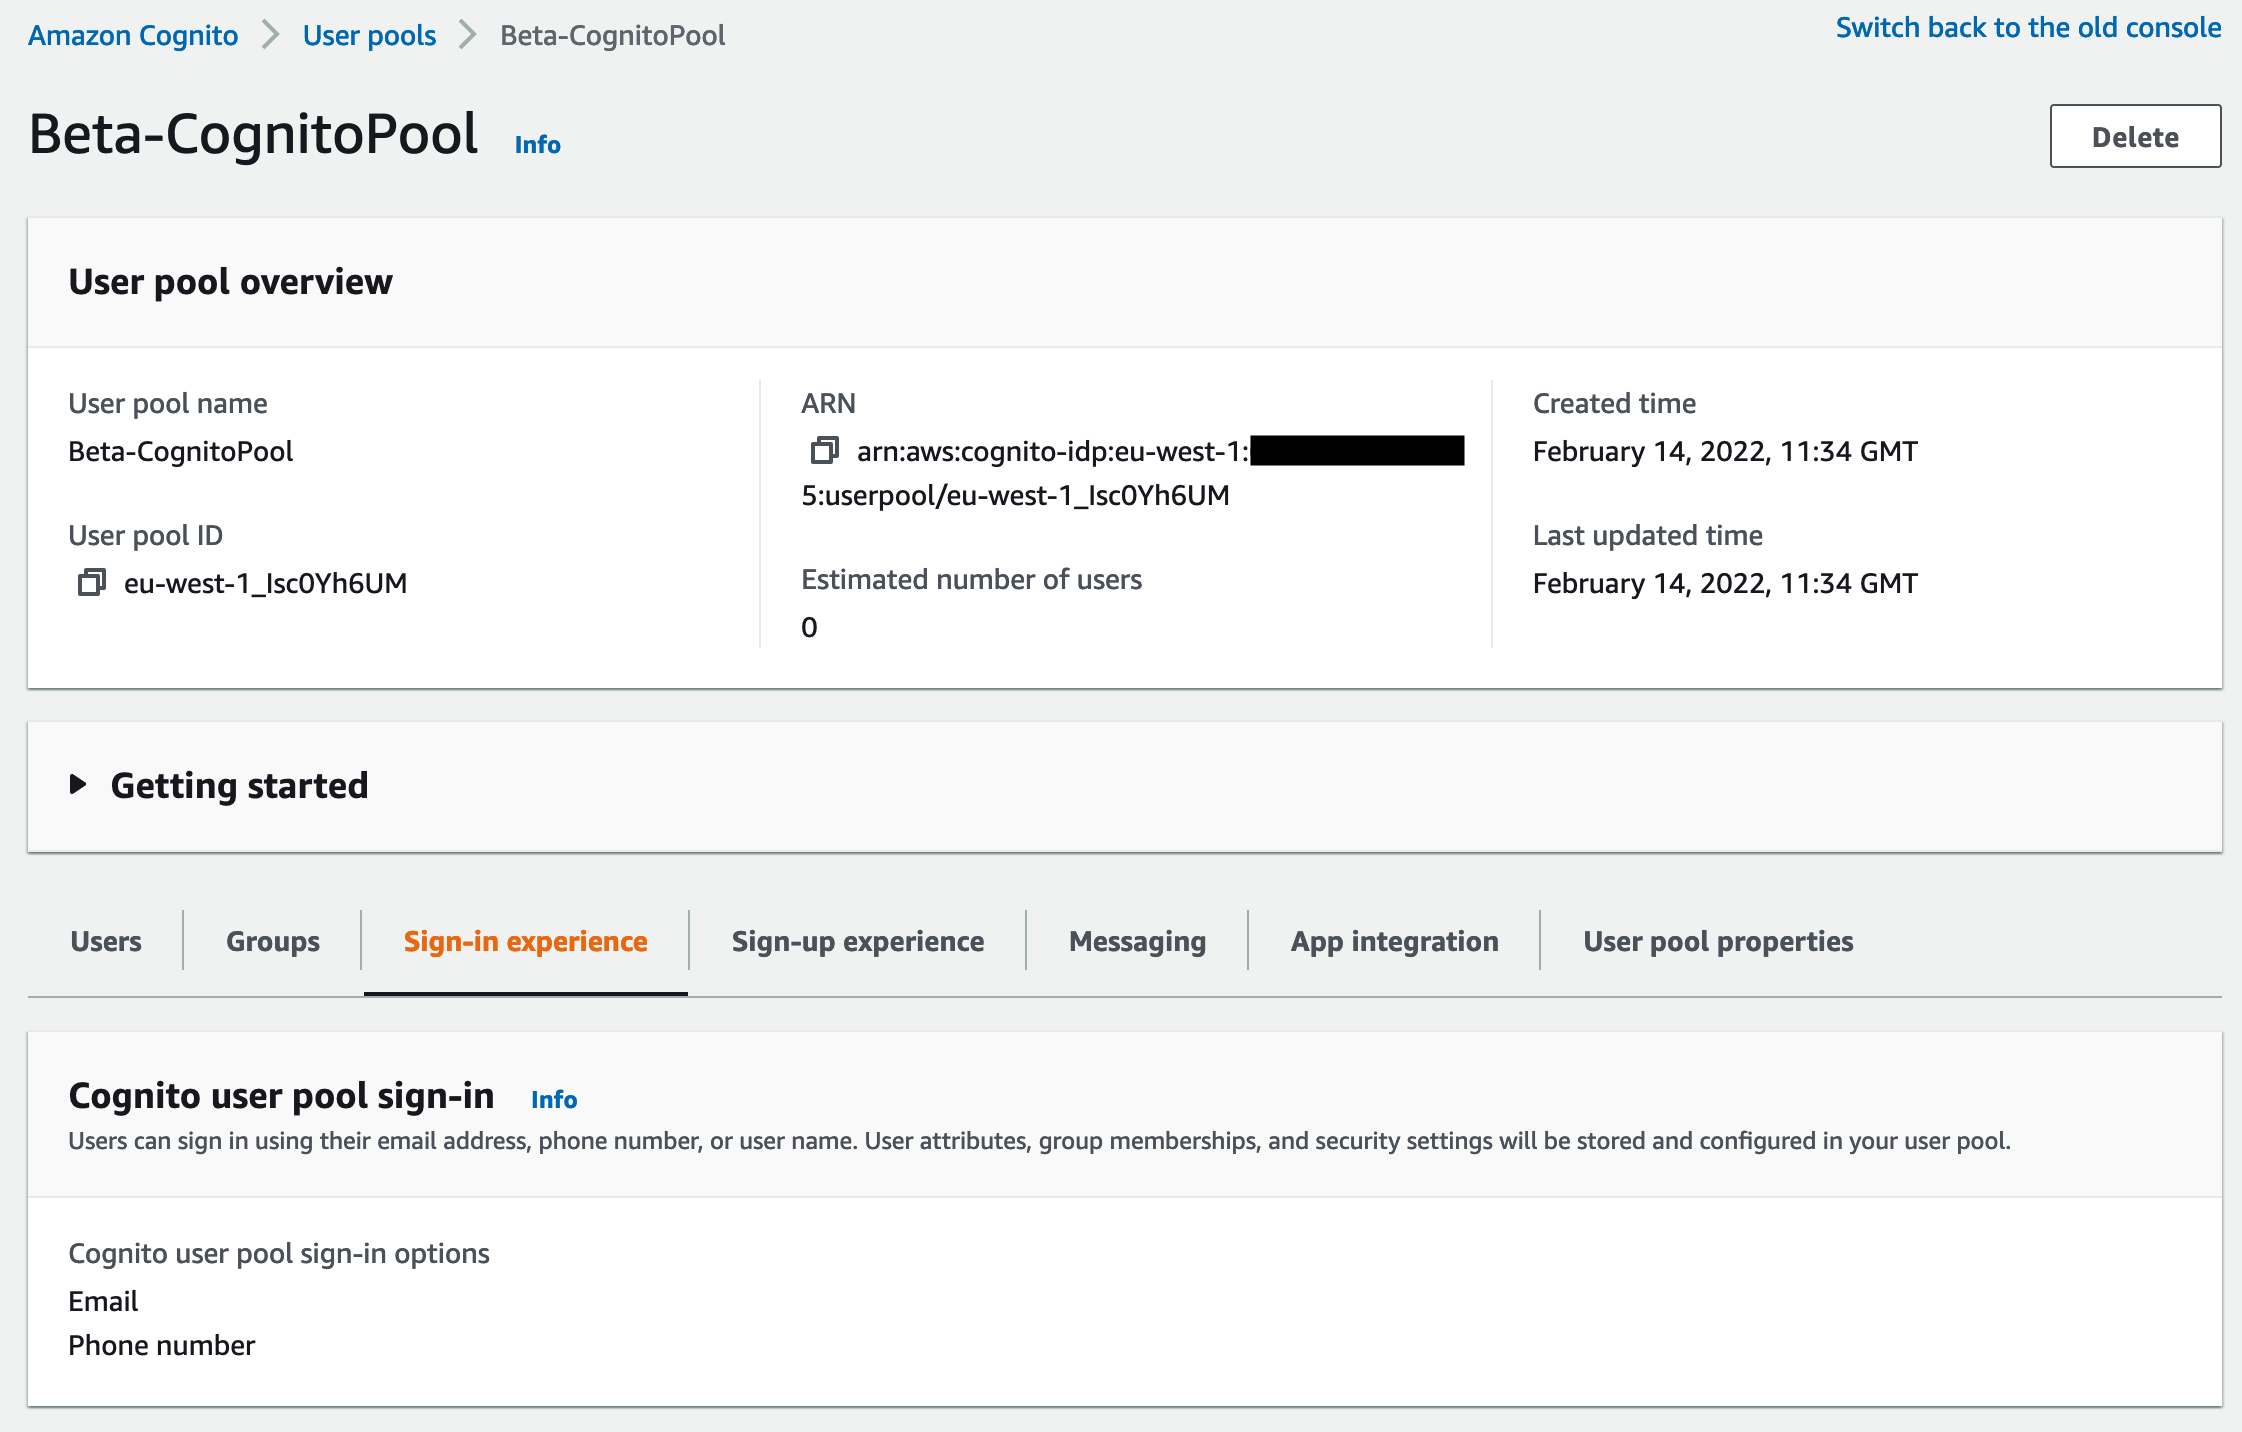
Finally Check your pool in AWS
After your successful deployment check the newly created user pool in AWS Console under Amazon Cognito > User Pools > Beta-CognitoPool
It should look similar to this:
That's it!
For easy integration with Cognito in your App, you can use AWS Amplify libs.